15 Nov

The Easy Way to Create a 1/2 Scale Pattern

How to Resize a Pattern to 1/2 (or 1/4) Size

(by Tanya Cunningham — Please use attribution if you share this document.)

When using a machine knitting accessory for shaping a garment (eg KnitLeader, KnitRadar, etc), sometimes you need a pattern that is scaled from full size to 1/2 or 1/4 size. This tutorial will show you a very simple way to create a scaled pattern.

Your pattern may be one obtained by tracing an existing garment that you know is a good fit, or it may be a sewing pattern designed for stretch knits, or it may be a diagram obtained from a published knitting pattern.* Assuming your pattern piece is symmetrical, fold or cut in half vertically. You will work with only one half of the pattern. This method may not work with especially large, or asymmetrical pieces.

Sample of typical front pattern piece

Work with just half of the pattern

Once you have your pattern divided, take a long straight edge and draw a straight line from each point where the outline changes direction to one central point. Usually the easiest central point to use is the point where the bottom edge meets the middle, vertical line. Draw a line from each of the outer points to that central point.

Now, measure each line, and locate the center, halfway point and mark it. (NOTE: If you are reducing to 1/4 size, divide the length of each line by 4, and mark 1/4 distance from the center point at the bottom edge.)

Lines drawn from each point to central point, marks at halfway.

Finally, connect the half-way marks, using straight, or curved lines to match the larger pattern.

The green outline is your 1/2 scale pattern piece (1/4 scale would be even smaller.)

* A great source of knitting pattern diagrams are the free patterns found at the Garn Sudio website, www.garnstudio.com.

©2020 Tanya Cunningham/Fridamar Textiles — For personal use only

27 Aug

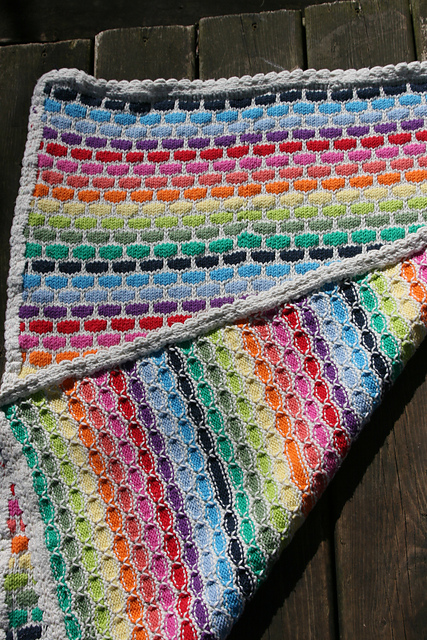
Rainbow Tuck Baby Blanket

full

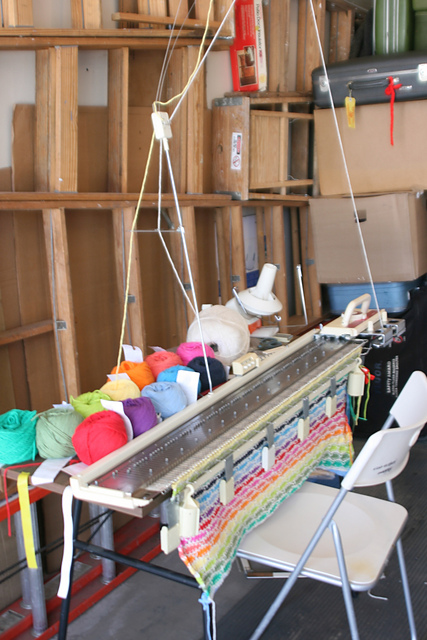
This project has been in my queue for a very long time. Recently I ran across Sugar n’ Cream yarn on sale, so stocked up on a rainbow of colors and decided to undertake the knitting.

It was a fun, but tedious knit. Knitting with this bulky, cotton yarn is awful!! Especially in a tuck pattern. It took me quite a while to discover some techniques to keep things running relatively smoothly, and even at that it took way more effort than most other machine knitting.

while knitting

The first thing I discovered is that the stitches next to the tucked stitches really want to come out of the needles by the time you’ve knitted a couple of tuck rows. I wanted to knit 6 rows in each color, with 2 tucked rows of contrast color between. But I found that 4 rows of each color was as much as the machine would agreeably accommodate.

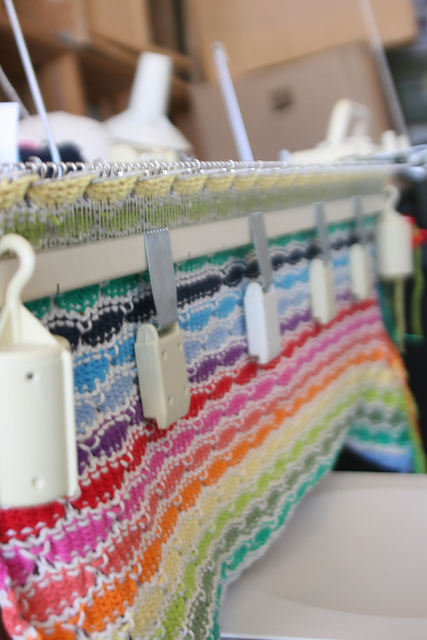
weighted comb

Before knitting each contrast row, I pulled all needles out to E position. After every 2 rows of contrast I re-hung the cast on comb, full length, making certain that it caught every single stitch. If you’ve ever tried to put a cast on comb into your knitting after you’ve already got fabric hanging from the machine, you probably know that’s no easy task. As soon as I got one end hanging and moved along to the middle or the other end, the first end would pop out of the stitches. It took a while to come up with a technique to get the whole comb to stay in the stitches, and then I hung 6 large ribber weights along the length of the comb. Then I pulled down on the comb all along the bed, one section at a time, as I knitted across, to put maximum weight on the stitches as they were being knitted. Whew! It was pretty exhausting.

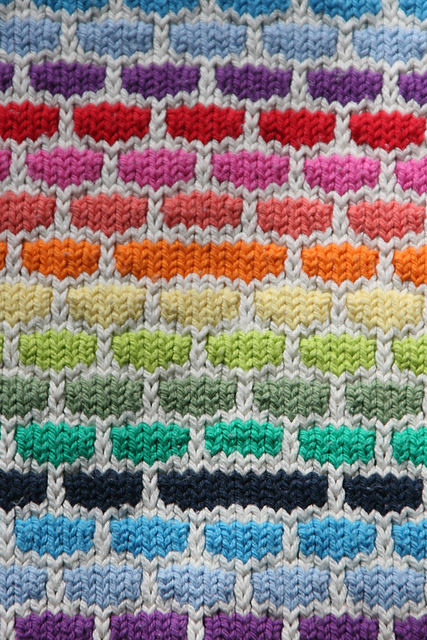
I was eventually very pleased with the result, in spite of a few glaring errors. (Can you see them?)

errors

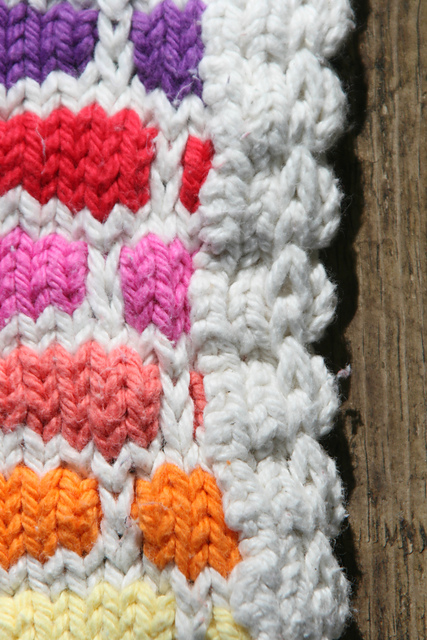
I then knitted a fold-over trim which I sewed on by hand. (I learned this technique from Diana Sullivan’s video.) I will do that a bit differently next time. After getting one full side attached, I would count how many segments I used, and allot the same number of segments for the other side, baste it and then sew it.

edge closefolded

After sewing in ends I machine washed and dried the blanket. It pilled a bit, but I wanted it to be pre-washed before sending it off. I mailed it off to my niece, who has a new baby. Sadly, the package never reached her. The mail carrier claims it was delivered, but they never got it. I can only hope that some other lucky baby is enjoying it somewhere, and I will make another one for my niece.

09 Feb

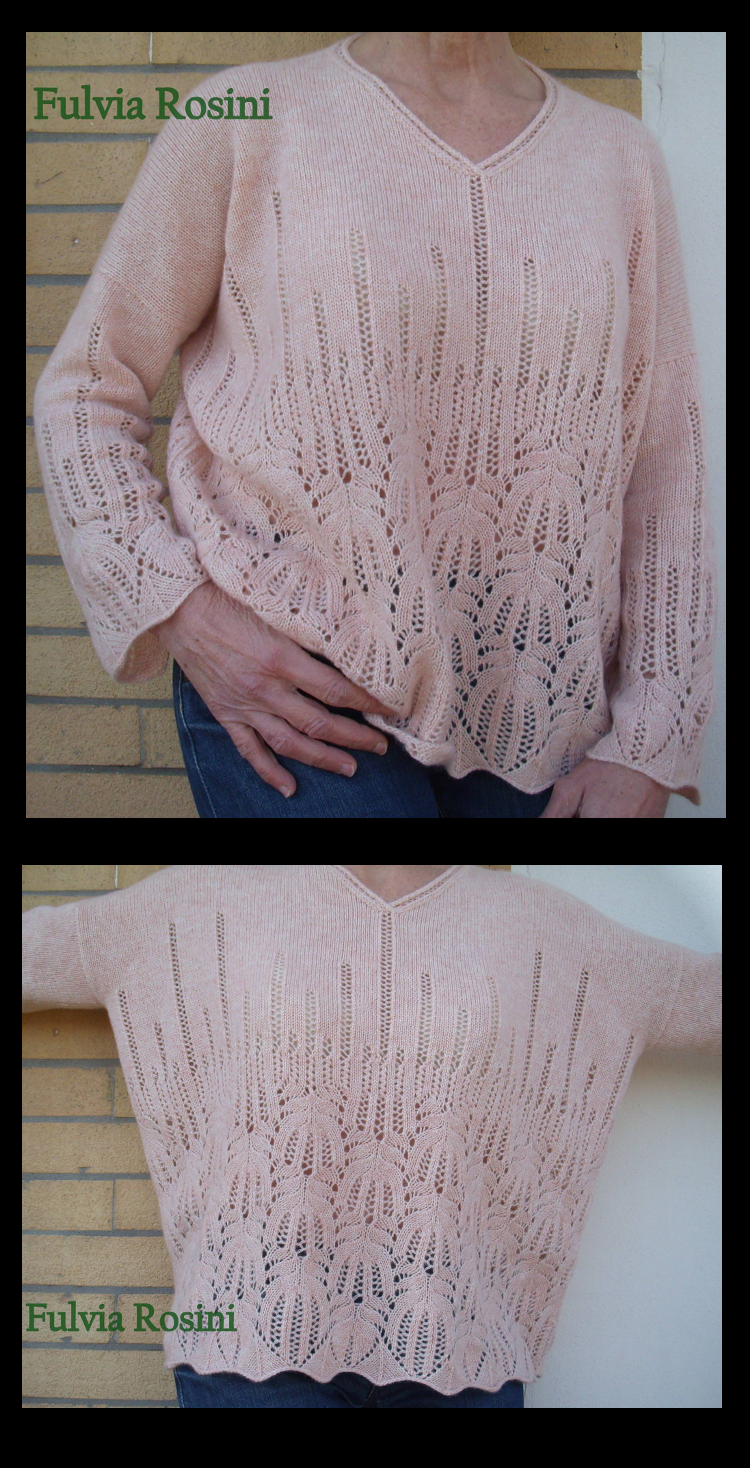
Frost Flowers Lace on the Knitting Machine

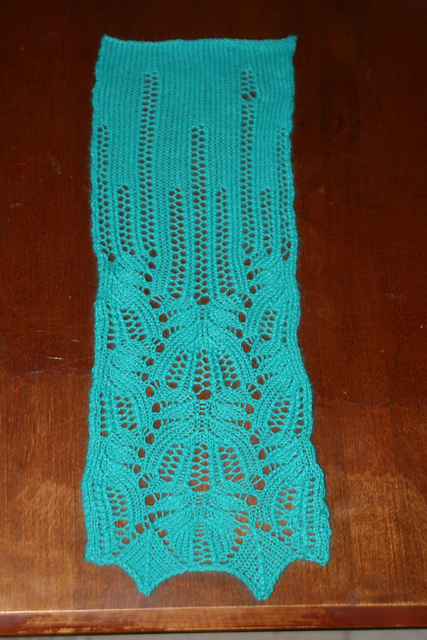
Knitting on Brother KH930 using img2track

Knitting on Brother KH930 using img2track

Now that I’m up and running again, I thought I would finally make available for download my files for Frost Flower Lace, as I developed them to use with img2track.

Above is the photo of my first sample of this lace pattern successfully knitted on my Brother KH930 using img2track. I was so thrilled!!! when I finally figured out all the steps in writing, loading and knitting the pattern. Several others have now had success with it, as well. Until now I’ve been emailing the files to people individually, but to save the hassle I’ll just put them here, and anyone can download them and try it.

Please keep in mind that these files were developed specifically to use with the Brother 900 series knitting machines and img2track. There are several other ways to produce this lace, and you can find lots of info on the web about it.

If you try it, please let me know how it turns out.

Frost Flowers files click here